

Turning a Character Around

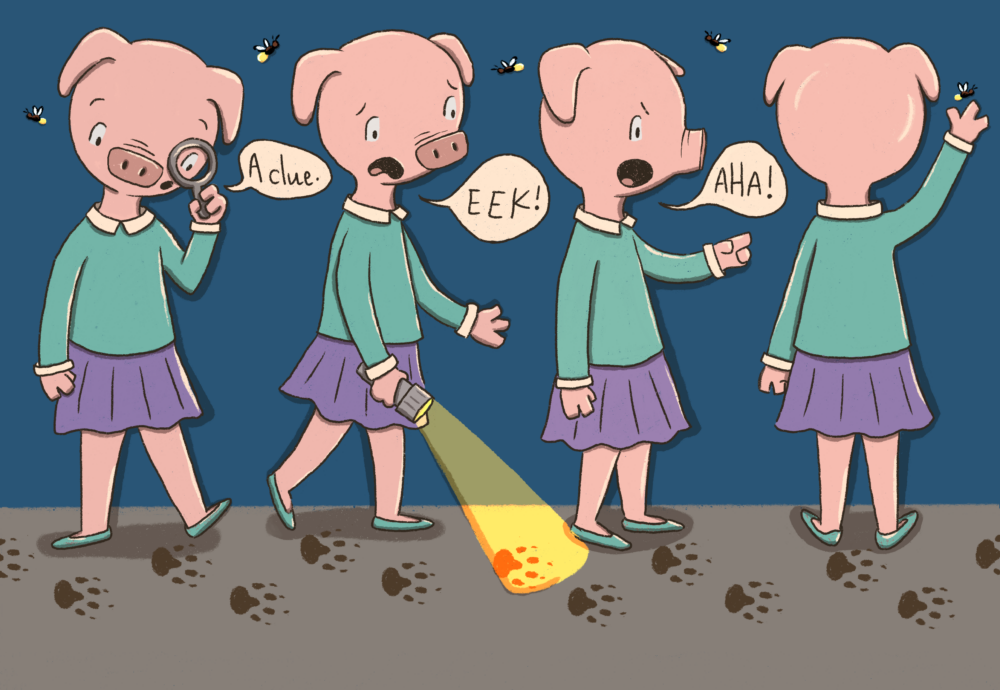
Character Turns
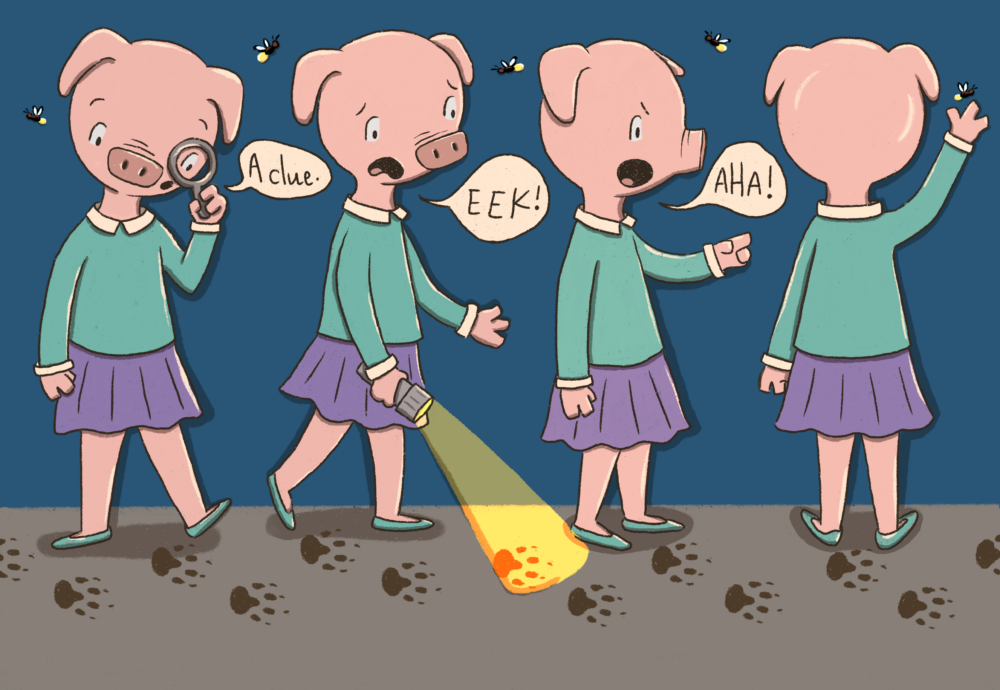
A character turnaround shows the same character from multiple angles. Drawing each view helps establish the character’s proportions, clothing, accessories, and personality before they appear throughout a story.
Front View
Begin with the front view. This is the clearest place to establish the character’s basic proportions and important features. Decide on the shape of the face and body, then add clothing, accessories, and other details that make the character recognizable.

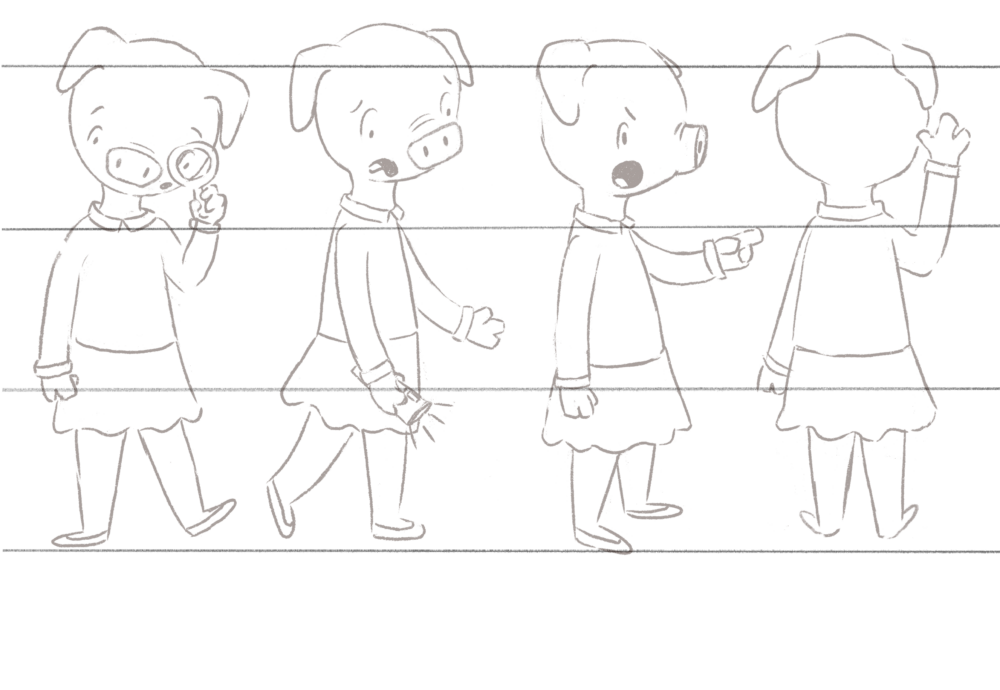

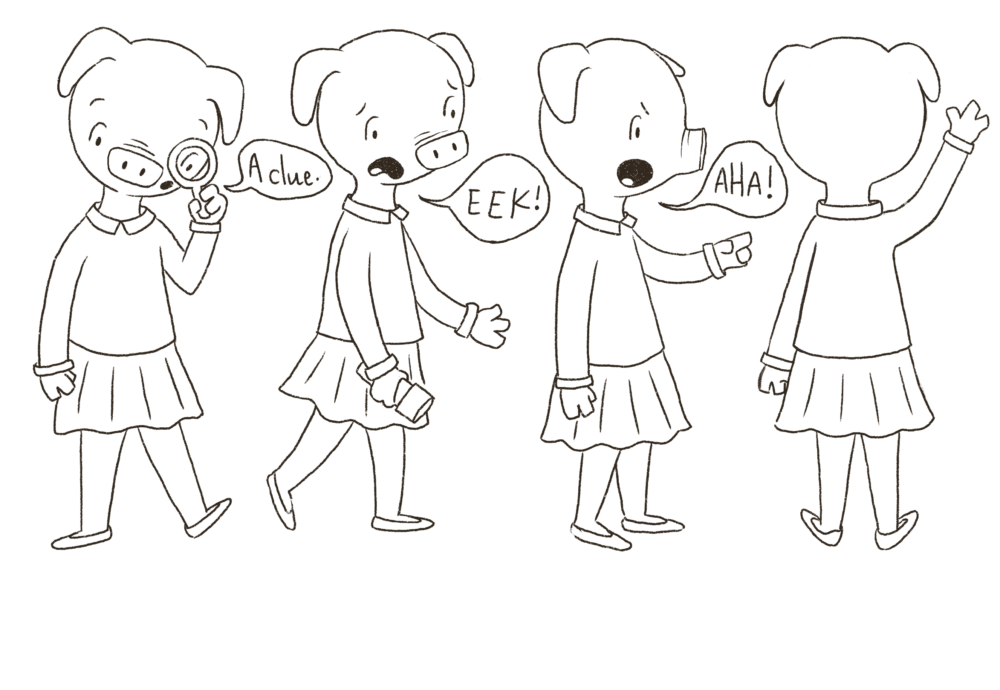
Three-Quarter View
Next, turn the character slightly to create a three-quarter view. This angle adds dimension by showing both the front and side of the character. Keep the features aligned with the front view while adjusting their placement to follow the turn of the head and body.
Side View
The side view reveals the character’s profile. Pay attention to the shapes of the forehead, nose, mouth, and chin, as well as how the character’s posture looks from the side. Use guidelines to keep the height and proportions consistent with the earlier views.

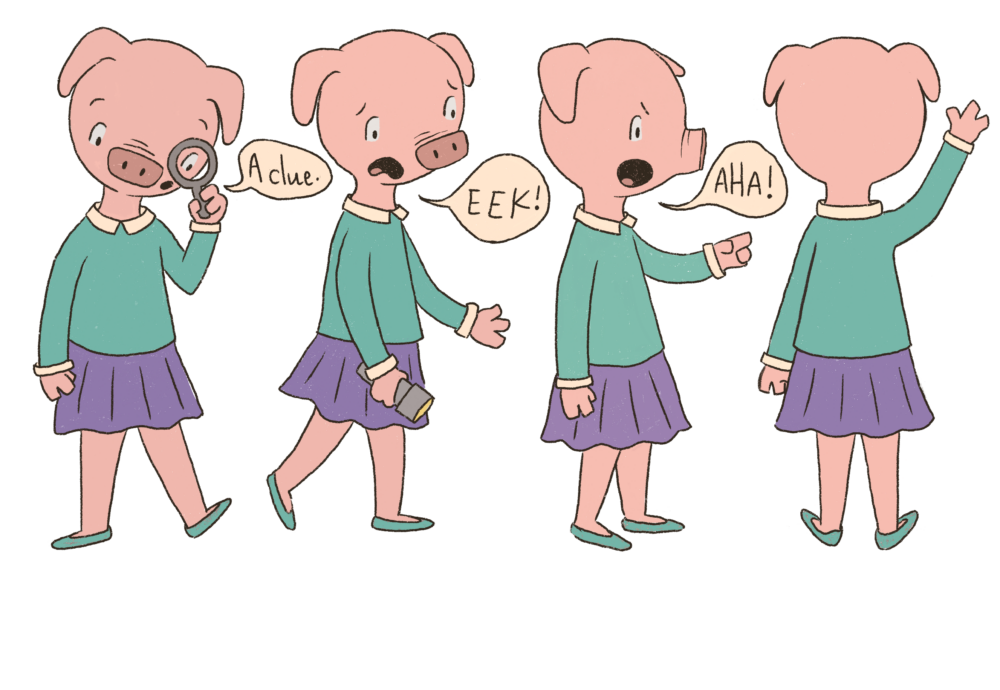

Back View
Finally, draw the character from behind. Show how the hairstyle, clothing, and accessories appear from the back, including details that may not be visible in the other poses. Together, all four views create a useful reference for drawing the character consistently.
